This walkthrough covers creating an AWS EC2 CentOS server, attaching a fixed public IP, and connecting a Cafe24 domain through Route 53.
Create an EC2 CentOS instance
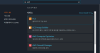
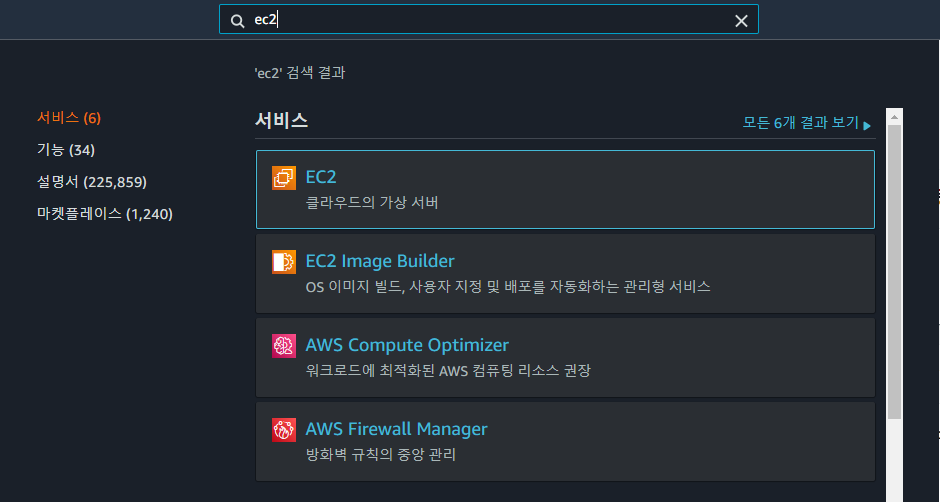
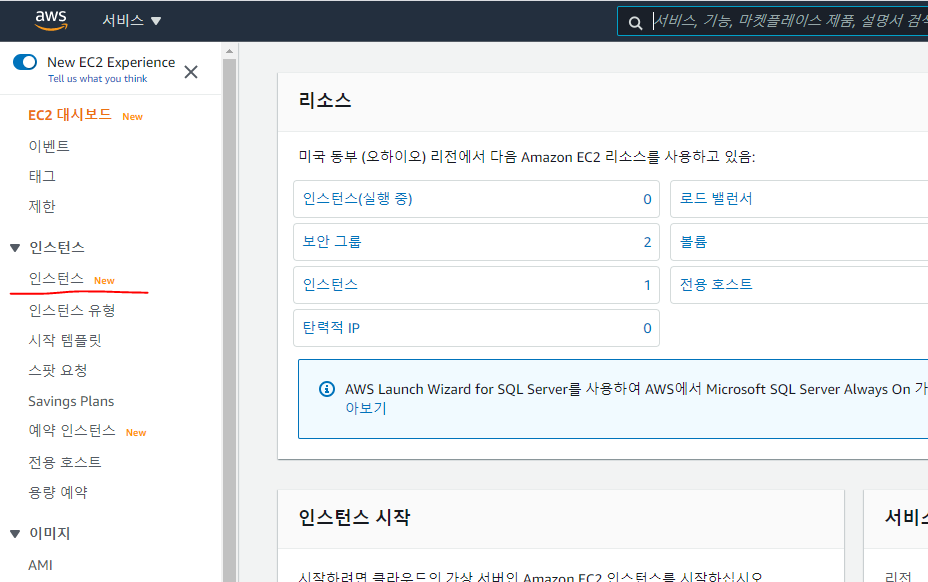
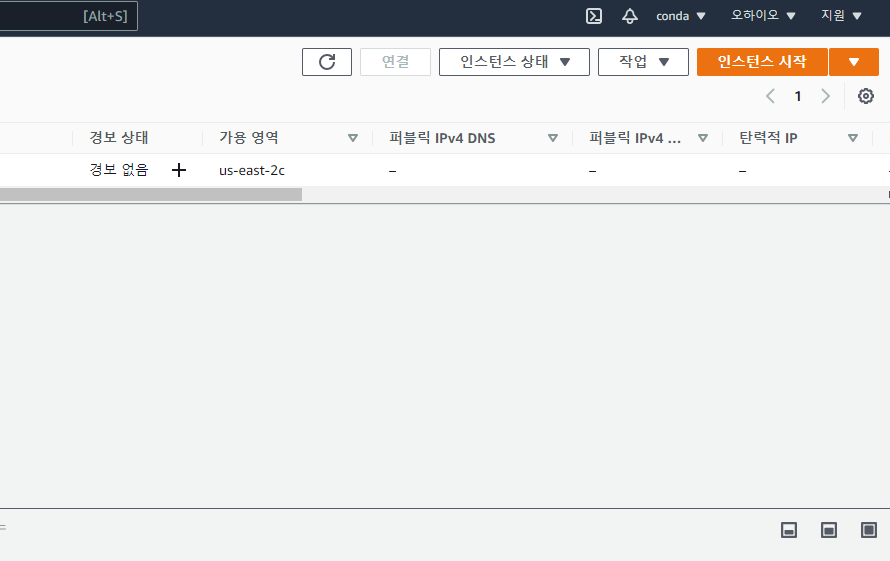
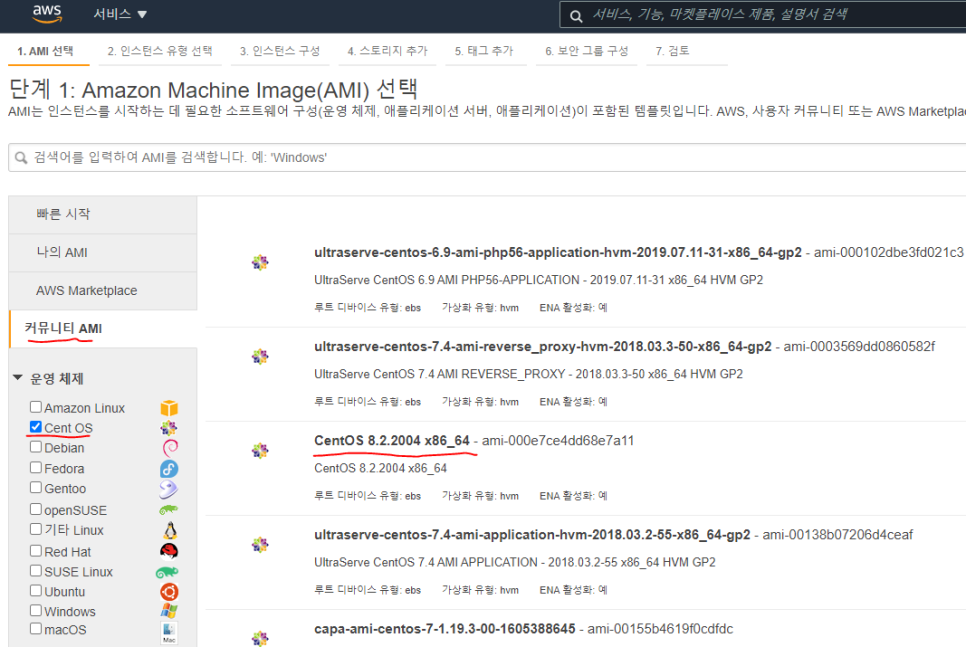
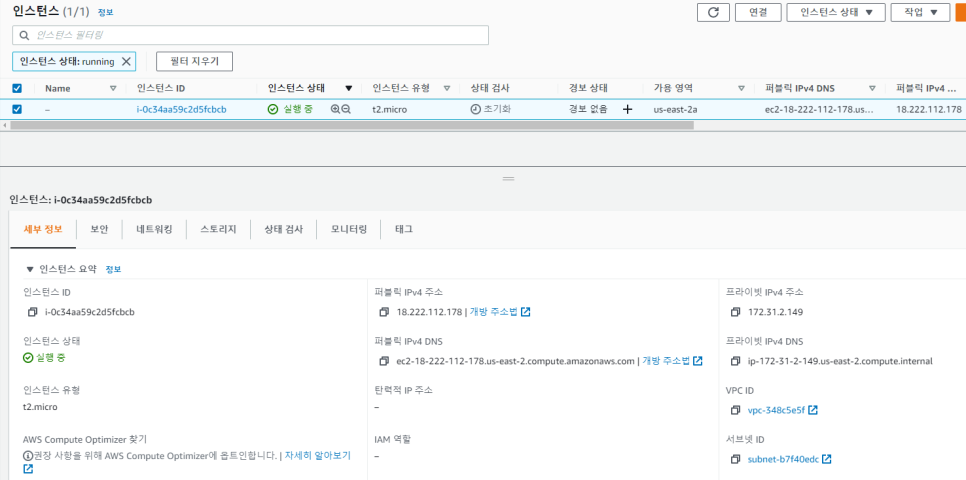
In the AWS console, open EC2 and launch an instance:
- AMI: CentOS (community AMI matching the version you plan to use)
- Instance type: a free-tier eligible size is fine for learning (for example
t2.micro/t3.micro) - Storage: default root volume is enough to start
- Security group: allow SSH (port 22) from your IP at minimum
Create a key pair
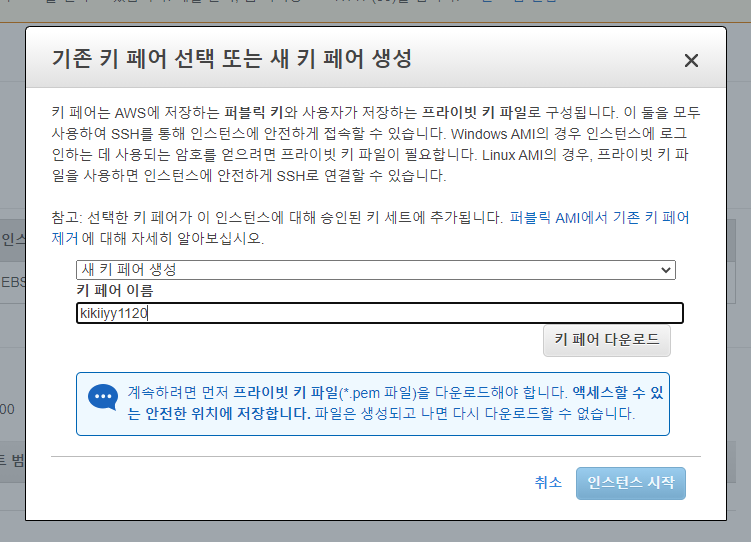
When launching the instance, create a new key pair (or select an existing one) and download the .pem file. Keep it somewhere safe; you need it for SSH.
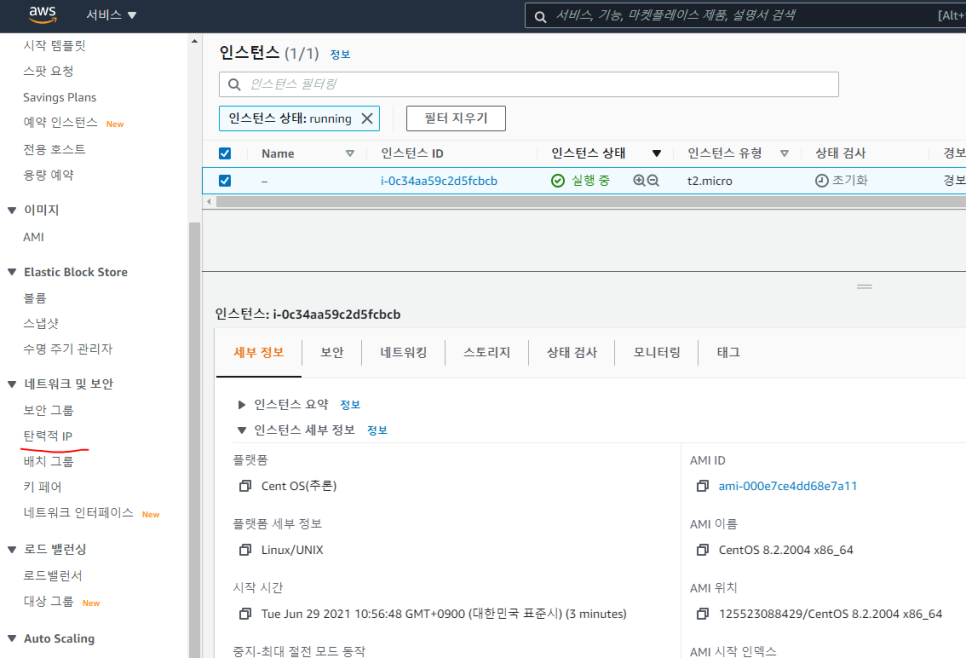
Allocate an Elastic IP
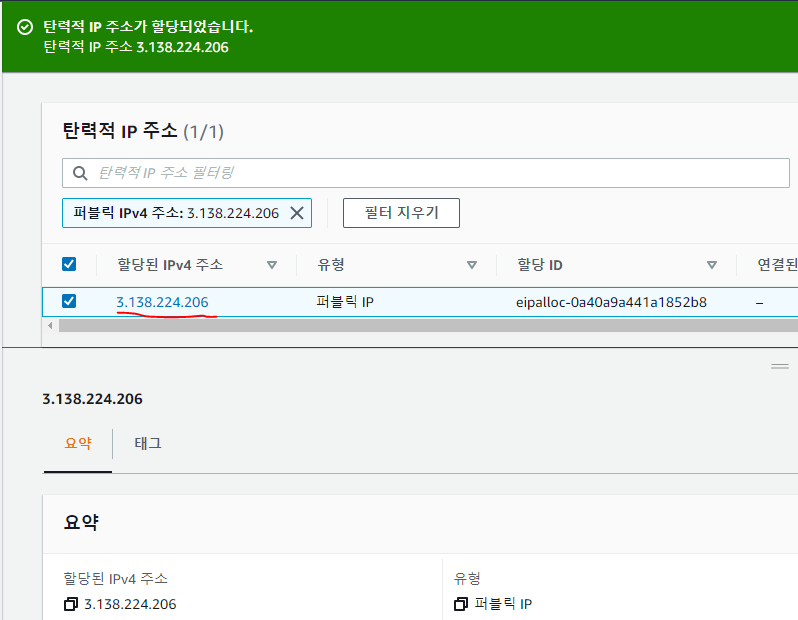
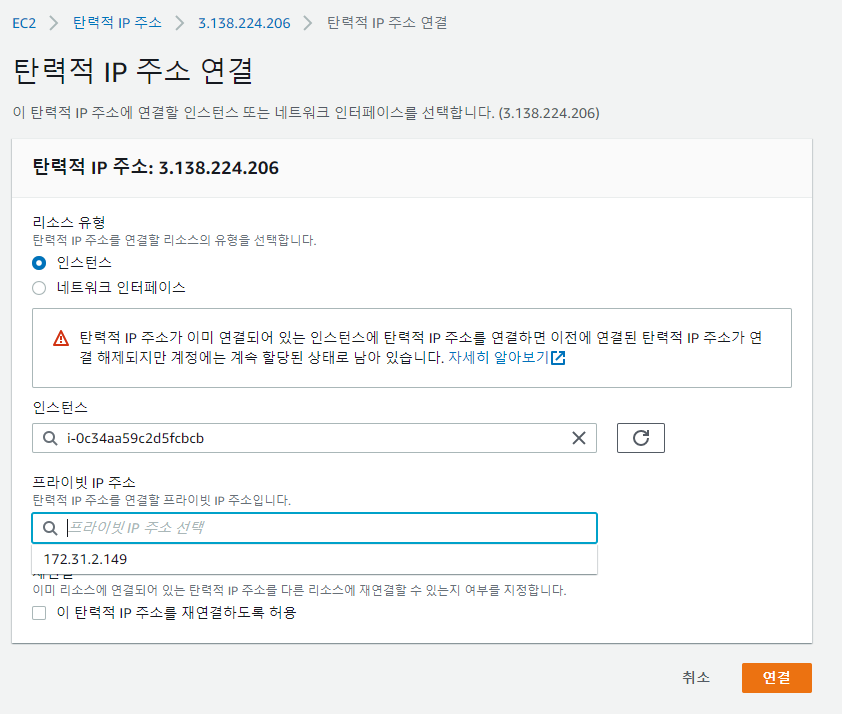
A default public IP can change when the instance stops and starts. Allocate an Elastic IP and associate it with the instance so the address stays fixed for DNS.
- EC2 → Elastic IPs → Allocate Elastic IP address
- Actions → Associate Elastic IP address → choose your instance
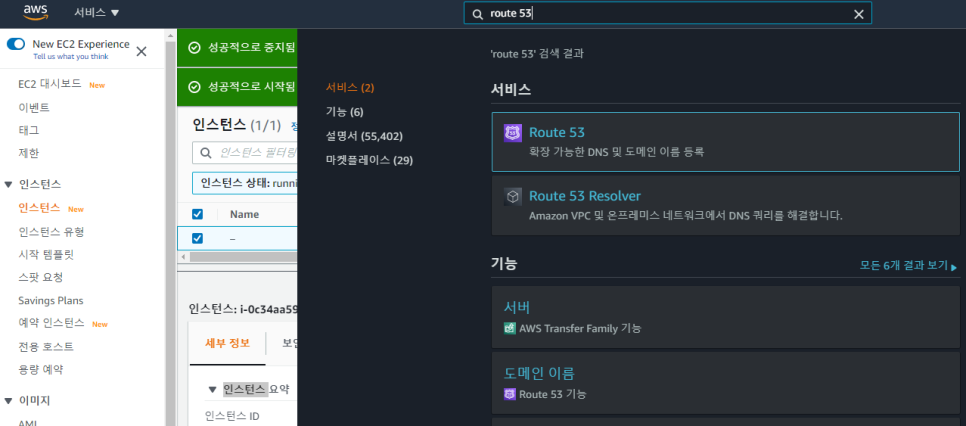
Connect the domain with Route 53
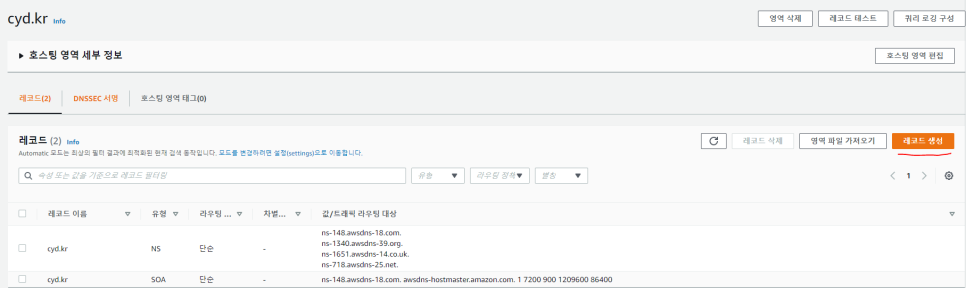
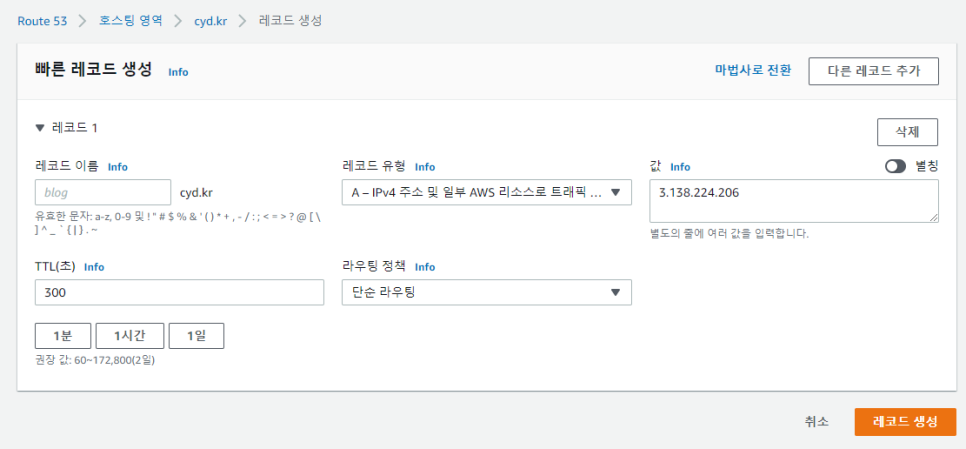
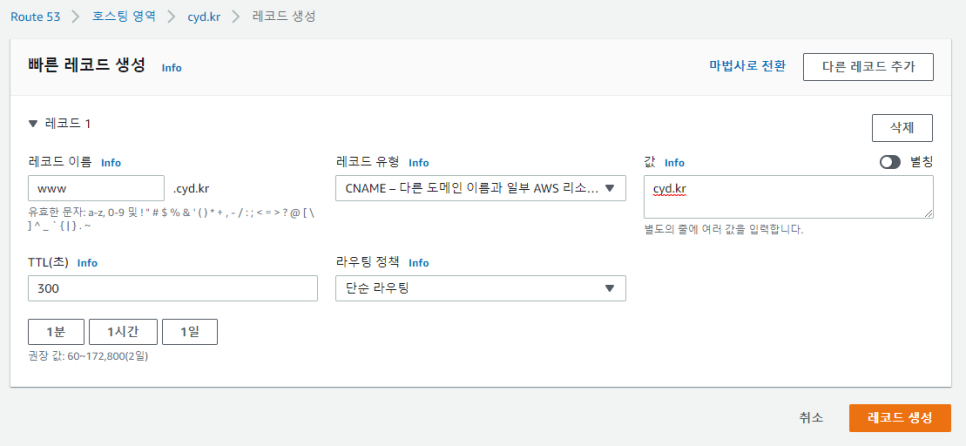
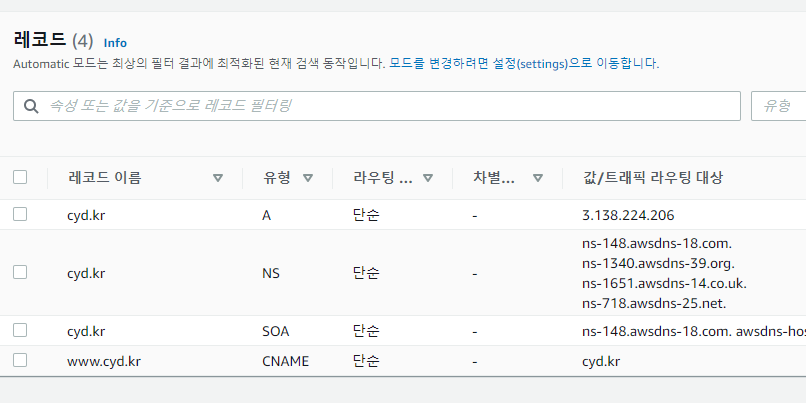
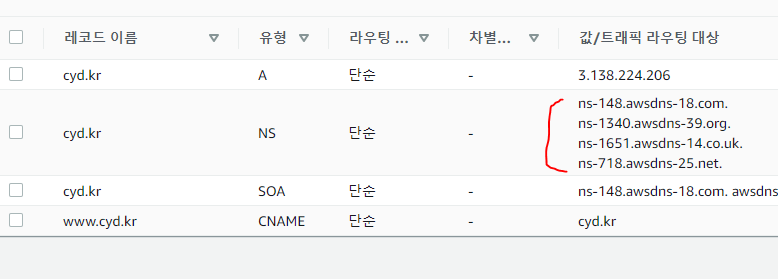
In Route 53, create a public hosted zone for your domain, then add records that point at the Elastic IP:
- A record: apex / root domain → Elastic IP
- CNAME record:
www(or other subdomain) → apex domain, if you wantwwwto follow the same host
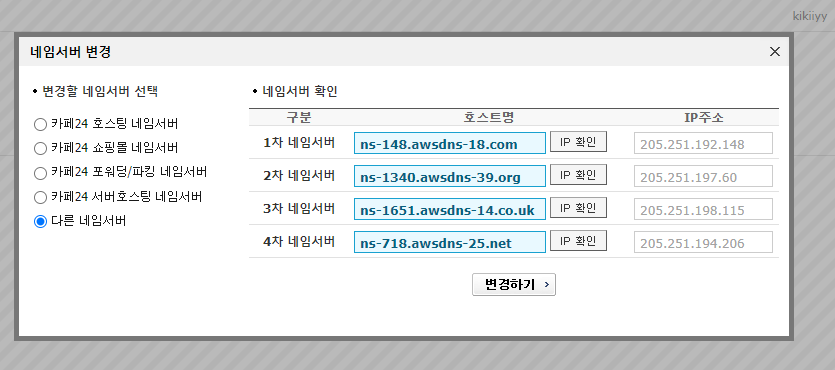
Copy the four NS values Route 53 shows for the hosted zone. You will paste them into Cafe24 next.
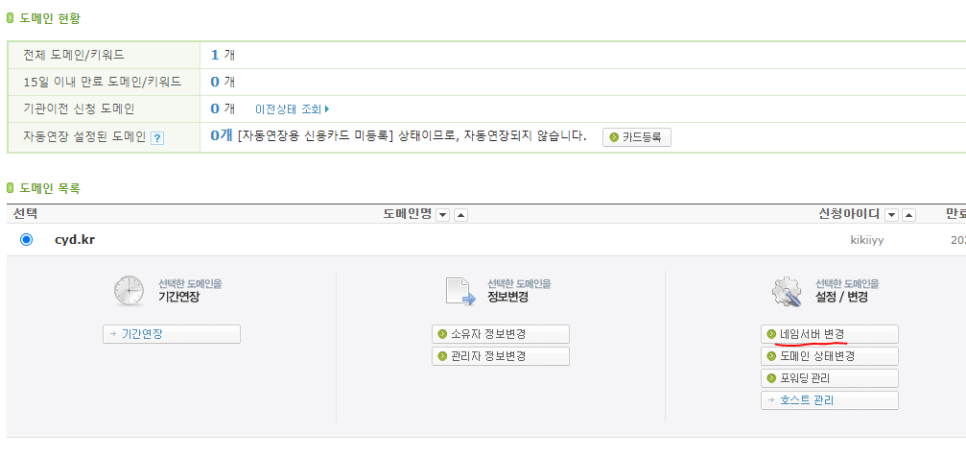
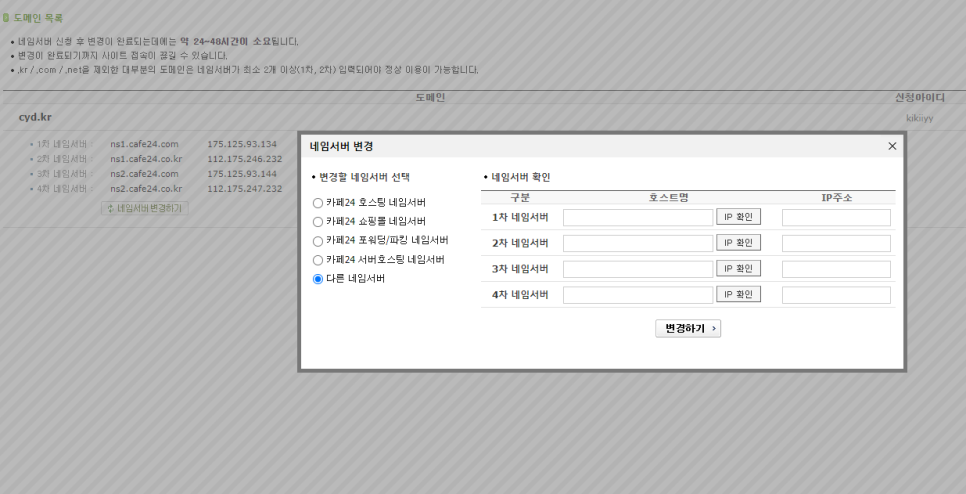
Change nameservers at Cafe24

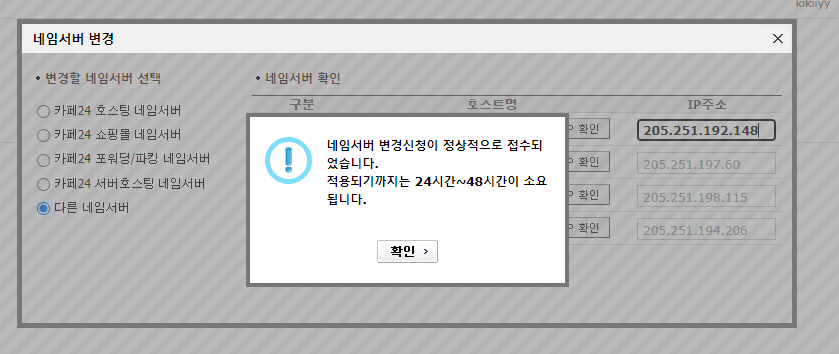
In the Cafe24 domain management UI, change the domain nameservers from Cafe24 defaults to the Route 53 NS hosts. DNS propagation can take from a few minutes to several hours.
After it settles, check with:
nslookup your-domain.com
nslookup www.your-domain.com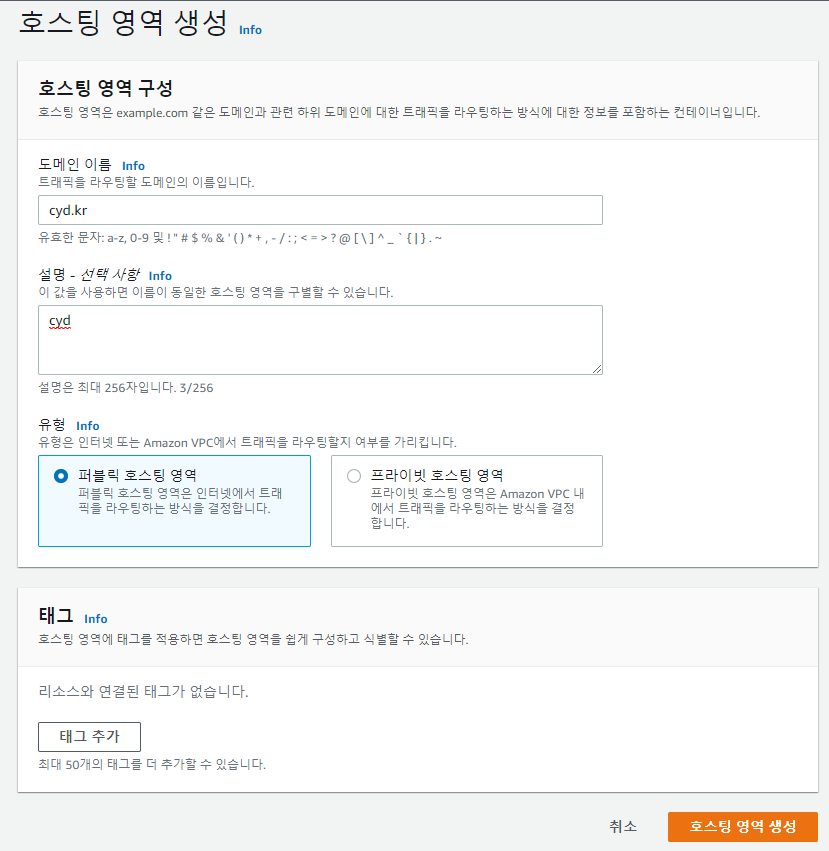
SSH with PuTTY (PEM to PPK)
On Windows, PuTTY expects a .ppk key, not the raw .pem from AWS.
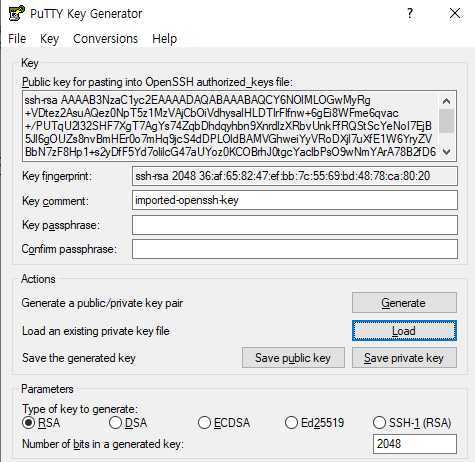
- Open PuTTYgen → Load → select the
.pemfile (set the filter to All Files if needed) - Click Save private key to create a
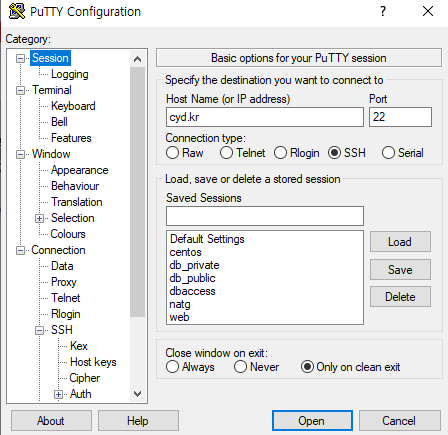
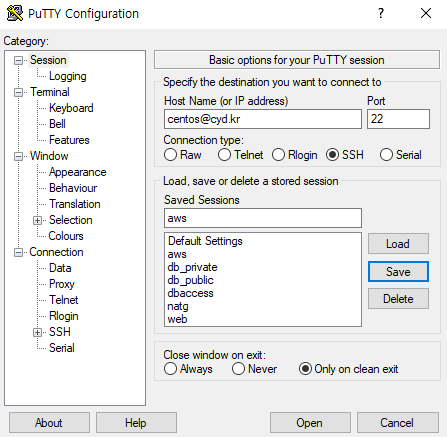
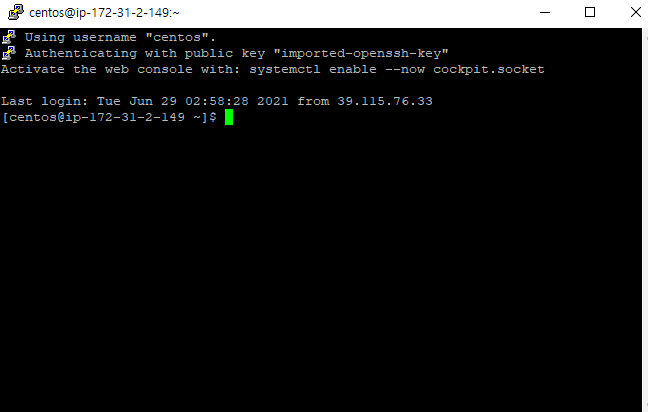
.ppk - Open PuTTY → Host Name:
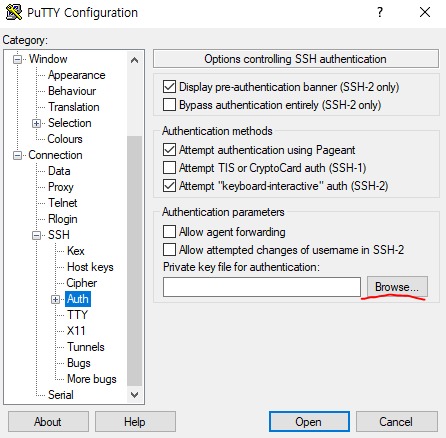
centos@<elastic-ip>(or the AMI default user if different) - Connection → SSH → Auth → Credentials → browse to the
.ppk - Open the session and accept the host key prompt
Once you can SSH into the CentOS instance with a stable Elastic IP and the domain resolving to that IP, the base server is ready. The next post installs Docker and runs a web server in a container on this machine.


Leave a Reply