In the earlier EC2/Docker write-up I set up an EC2 CentOS instance and ran a Docker container. This time I install MySQL and PHP inside that container.
Check the container
Confirm that the container created earlier is still there:
sudo docker ps -a
A quick recap of the docker run options used in the previous post:
| Option | Meaning |
|---|---|
-i | Keep STDIN open (interactive) |
--name | Container name (here centos8) |
-v | Bind-mount a host path into the container |
--privileged | Give the container extended privileges (needed for some services) |
-p | Publish host:container ports (for example 8080:8080, 3307:3307) |
Connect to the container
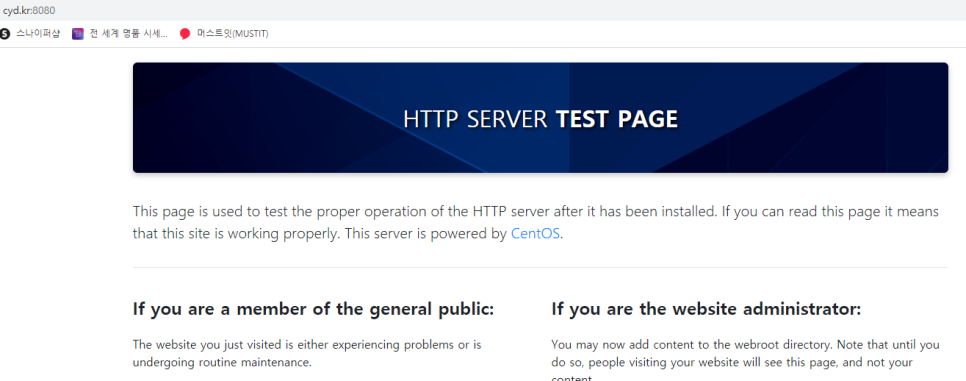
sudo docker exec -it centos8 /bin/bashOpen ports on AWS and in the OS firewall
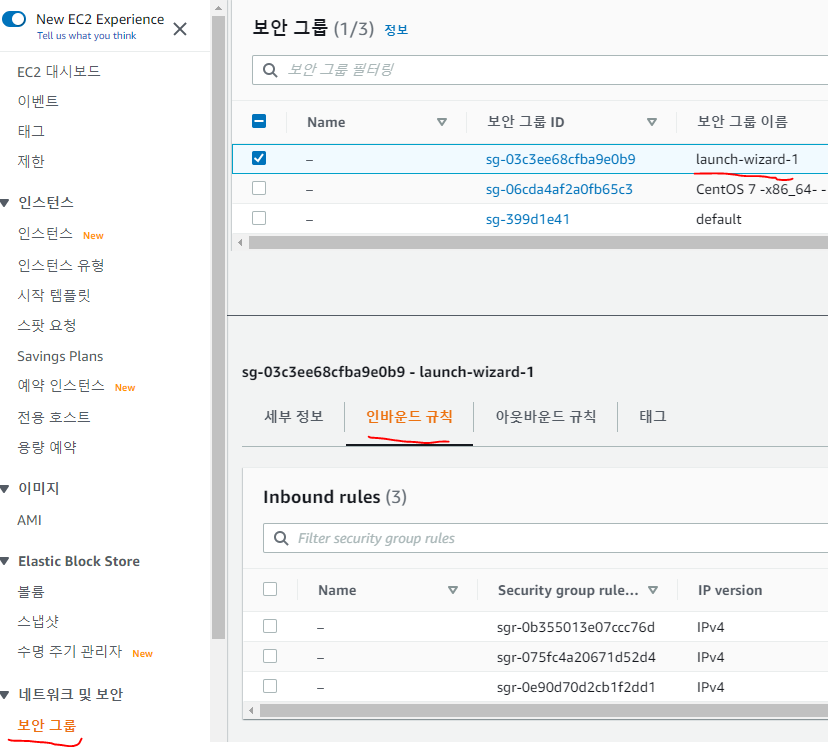
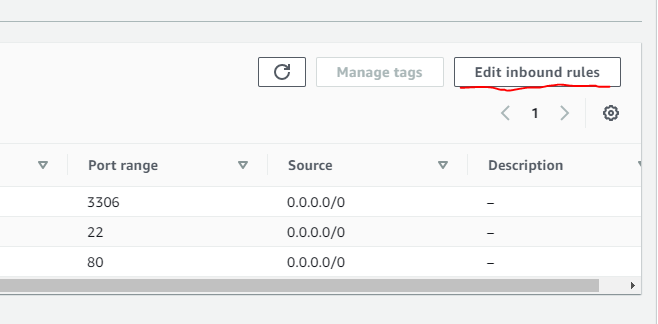
In the EC2 security group, edit inbound rules and allow TCP 8080 (and 3307 if you will connect to MySQL from outside).
Inside the instance (or container, depending on where firewalld runs), install firewalld and open the same ports:
sudo yum install -y firewalld
sudo systemctl enable --now firewalld
sudo firewall-cmd --permanent --add-port=8080/tcp
sudo firewall-cmd --permanent --add-port=3307/tcp
sudo firewall-cmd --reload
sudo firewall-cmd --list-ports
Install MySQL
Add the MySQL Community repository with wget and rpm, then install the server package:
wget https://dev.mysql.com/get/mysql80-community-release-el8-1.noarch.rpm
sudo rpm -ivh mysql80-community-release-el8-1.noarch.rpm
sudo yum install -y mysql-community-server
Edit /etc/my.cnf so MySQL listens on port 3307 and uses a smaller InnoDB buffer pool (useful on a small EC2 / container):
[mysqld]
port=3307
innodb_buffer_pool_size=64M
Start MySQL:
sudo systemctl enable --now mysqld
sudo systemctl status mysqld
Run the secure installation wizard:
sudo mysql_secure_installationFor the prompts, answer in this order: no / yes / no / yes / yes (skip VALIDATE PASSWORD, set the root password, leave anonymous users, disallow remote root, remove the test database / reload privileges as prompted).

Create a demo database and table
Log in as root and create database conda plus a sample user table:
mysql -u root -p -P 3307

CREATE DATABASE conda;
USE conda;

CREATE TABLE user (
  id INT AUTO_INCREMENT PRIMARY KEY,
  name VARCHAR(50) NOT NULL,
  email VARCHAR(100)
);

INSERT INTO user (name, email) VALUES ('demo', 'demo@example.com');
SELECT * FROM user;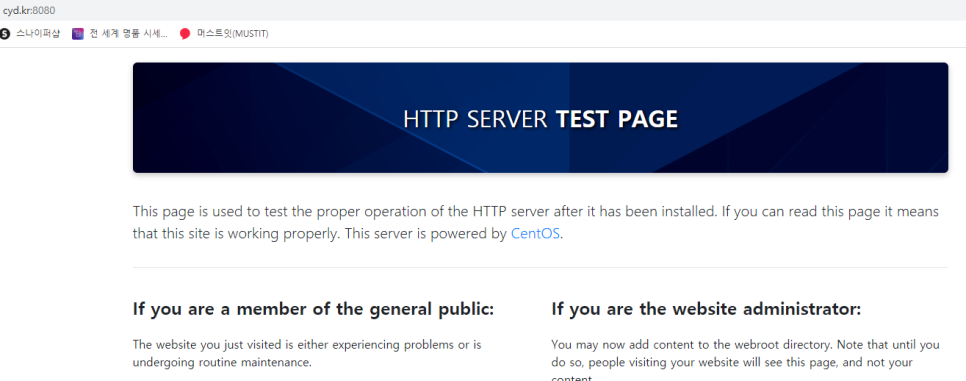
Install PHP
Install PHP and common modules with yum:
sudo yum install -y php php-cli php-common php-mysqlnd php-json php-mbstring
In the Apache config, add index.php to DirectoryIndex so PHP files are preferred as the default document.
DirectoryIndex index.php index.htmlCreate a simple test page under the web root (for example /var/www/html/index.php):
<?php
phpinfo();
?>
Note: in the original Naver source, the index.php sample looked truncated. The phpinfo() page above is enough to verify that PHP is wired to Apache; replace it with your real app entry point when you are done testing.
Open http://<elastic-ip>:8080/ in a browser. If you see the PHP info page, the Docker + Apache + PHP + MySQL stack on this instance is ready.
Leave a Reply